- Login Compiere with user 'System', there is only one Role 'System Administrator' and one Client 'System' to choose, press OK to continue.
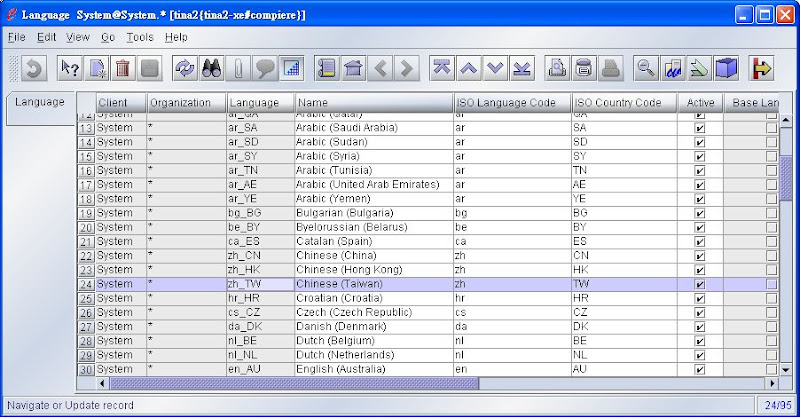
- From top up menu tree, go to System Admin/General Rules/System Rules/Language
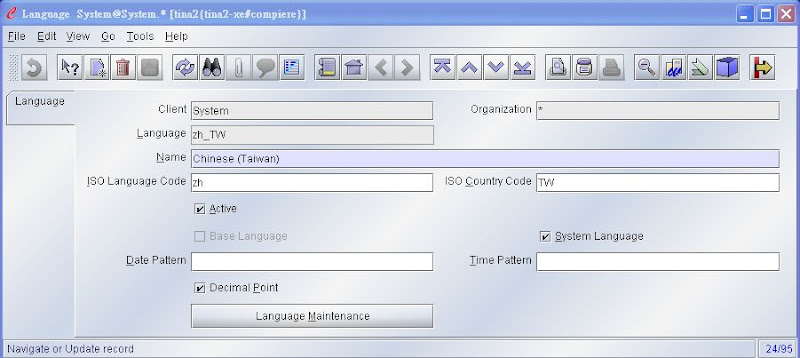
- Change view from 'List View' to 'Form View' by button Grid Toggle from menubar.
- Click button 'Language Maintenance' to populate those translatable tags into database. And press 'OK' to start process from current message dialog.
- On the maintain language translation in system dialog windows, please select 'Add missing translation' item and press 'OK' to continue.
- After a while, when Compiere comes back to Language form again, the missing translation tags were arranged ok await for translation. Close current windows and choose 'Translation import/export' under /Menu/System Admin/General Rules/System Rules.
- Please select 'System' item from Client combobox and the language translations you are going to import. Left the Table combobox blank, since you can import more than one table in the same time. Press button Import to continue.
- The last step is to indicate which folder contains the translation files. Only folder name is neccessary, since Compiere would detect hoe many files in this folder and import whole of them into database automitically. The screen below is just for example.
- Press button Open to start import job. This process would take minutes to complete. There is no progress bar this time, just waiting for screen to come back to what you have looked at step 6. Close the window and logout Compiere.
- Please login again with user 'SuperUser', don't forget to select the language you just added in, then select the role other than System Administrator(such as GardenWorld Admin, or gardenWorld User,,), you would see the big changes.
![]()
![]()
![]()
